Getting Started - Logging In and Logging Out:
Common Search Features and Functions
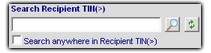
All search boxes in 1099 Pro ASP can be used in the same way.
Tips for displaying and sorting multiple records on screen:
Miscellaneous:


The "Form Lookup" search is a direct search thru all Filers, all Form Types, for either the current or all prior tax years. When the current year is selected, the search will only return results for the current year. When a prior year is selected, the search will return results for all prior years. You may also specify a particular year by indicating a "Tax Year" in one of the "Select Search Field" drop-down menus.
Please click here for more information on selecting a "Tax Year".
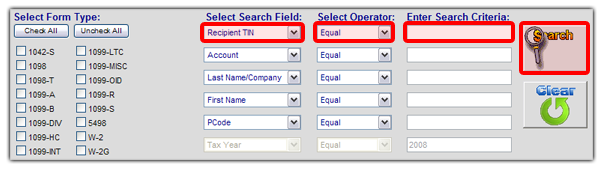
Example: Lynda needs to find all forms issued in tax year 2004 by PCode (Payer Code) 1942. Here are the steps she needs to take to find her forms:
Lynda then clicks on the magnifying glass icon to begin her search.
This section will outline the simple process of adding a new form to your filers database.
First you will want to have your correct filer selected, you will be able to see who the current filer is in the "Current Filer Window", located at the top left corner of your window. The information in the "Current Filer Window" will be used in the creation of your tax form(s), if this is not correct please see the section on selecting your filer before you continue.
Once that is completed you will need to select the tax year that you would like to create the form for, this can be found underneath the "Current Filer" box.
Underneath the Tax Year box you will see the "Tax Form" drop down box, here you will be able to select one of the various forms that are available for creation within 1099 ProNet.
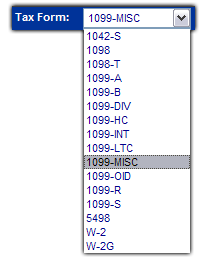
Once you have chosen the form that you would like to create a new form for click on the "Add" button.
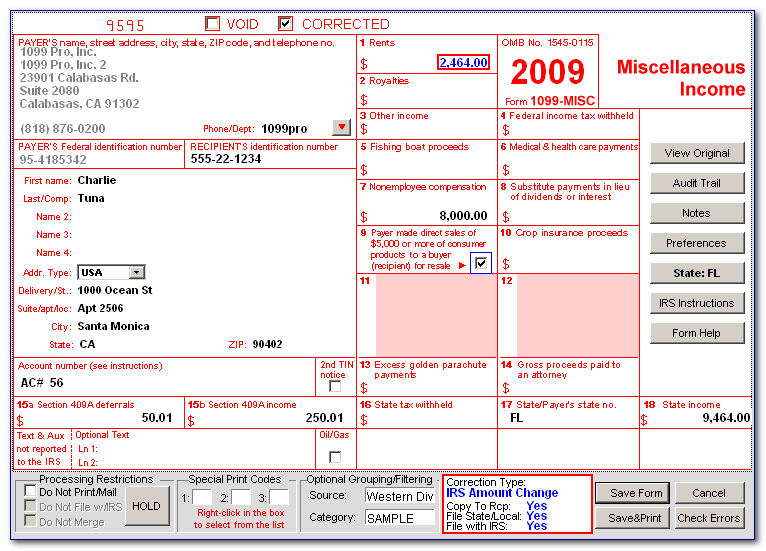
You will then be presented with a graphical representation of the form that you selected.
From here you can either click on the various fields.
Note: You can also use the "Tab" button to cycle down through the fields, or "ctrl-tab" to go up through the various fields.
Once you are done you may click on the "Save Form" button
Note: If there are any errors or warnings regarding your form you will be informed when you click the "Save form" button.
From there you will be taken back to the "Enter, Update and View" screen.

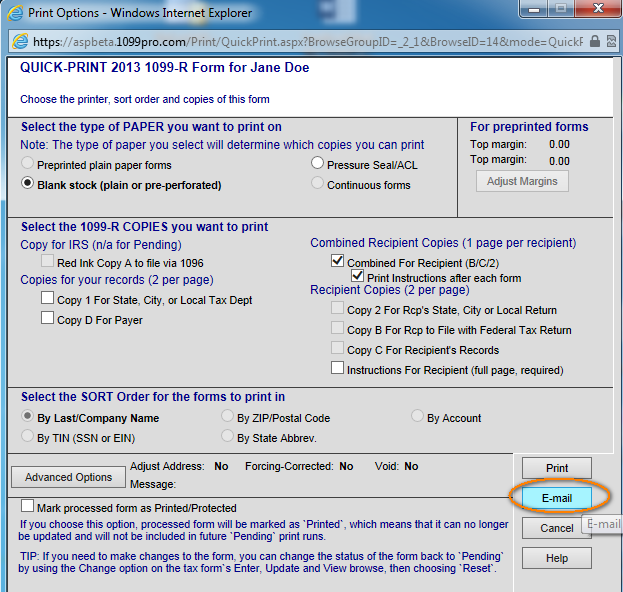
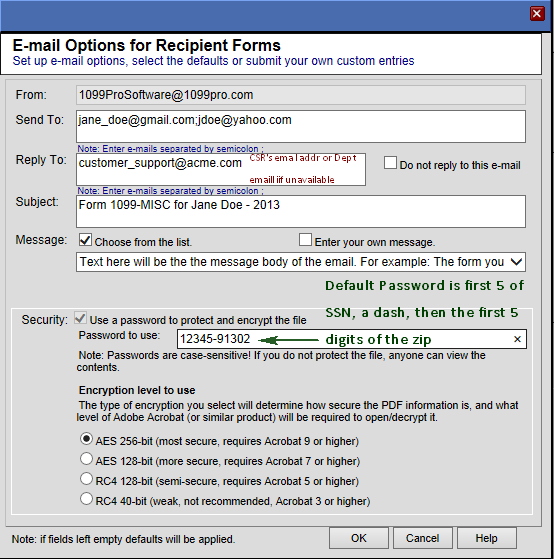
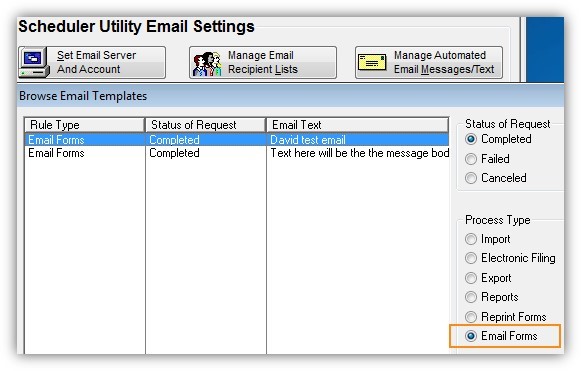
Now you can send encrypted PDF’s directly from 1099Pro.NET. Features include:
User Guide for emailing from 1099Pro.NET
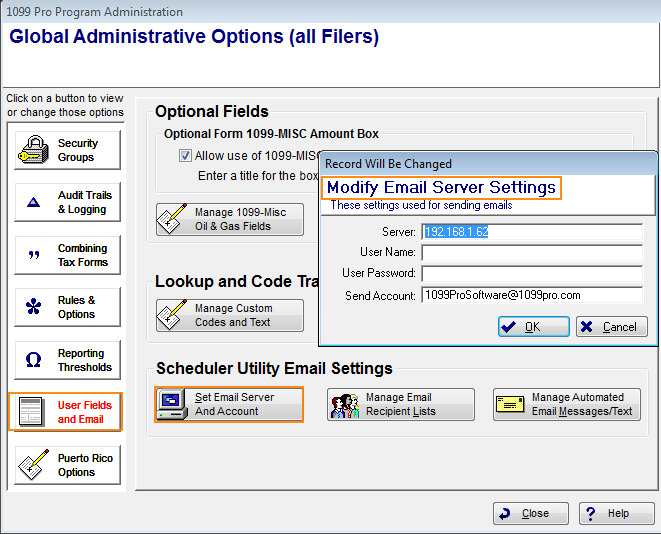
IT Setup Guide – as easy as 1, 2, 3!
The following items must be configured by a Corporate Suite Software administrator:

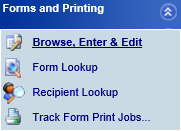
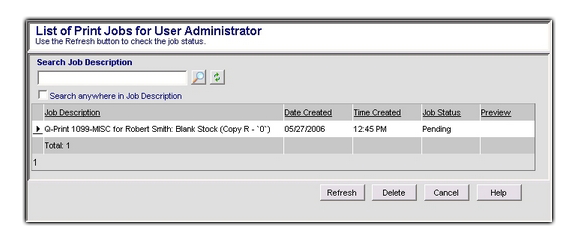
To begin with click on the "Track Print Jobs" icon in the "Forms & Printing" menu. Note: If you do not see the "Track Print Jobs" icon, click on the drop down icon on the "Forms & Printing" bar, below the Tax Form drop down menu. This will open the "Print Bin" window, from here you will have access to the following options. Search Job Description: You can search your past jobs for specific form types, just type the form type name into the search box and press enter. Note: You can further narrow down your results by checking off the "Search anywhere in Job Description" box, then typing more information related to your print job in the text field. Delete All: Clicking on this option will allow you to delete all the print jobs that are present in the "Print Bin" Window. Refresh: Clicking this option will check the server for status updates or new print jobs. Delete: Clicking this will delete the currently highlighted print job. Cancel: Highlighting a print job and clicking cancel will allow you to stop that print job, this is useful for stopping large print jobs that were started in error, 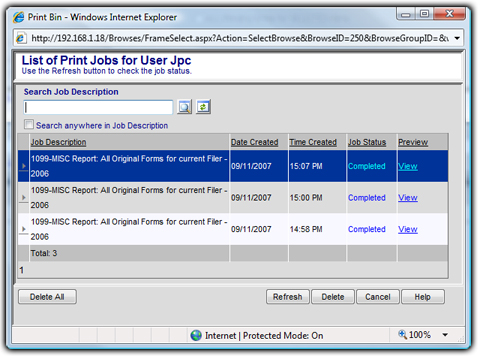 Return to the Top Custom Statement Printing
1099 Pro ASP users can access custom reports from within the interface. 945 Balancing Report
The purpose of the 945 Balancing report is to determine what the Federal/State withholding information was input into the 1099 Pro ASP interface/Corporate Suite software, this report is generated across each of the Filers in your database as well. Corrections/Late Adds report (Export to Excel) This will create a a report of all late Corrected forms, in addition to all transactions entered after the cutoff date. This report will not be printed, but will rather create a file that is compatible with Microsoft Excel. TINCheck Integration
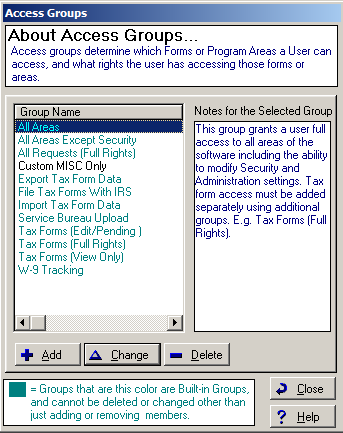
TINCheck is a service offered through 1099 Pro. TINCheck is an essential tool in identifying mismatch errors through an interactive and user friendly website prior to filing information returns. Simply log in with a username and password, and instantly gain access to multiple verification sources in one place. Users also have the option of integrating the API/web service into an existing accounts payable system, allowing your company to seamlessly verify information while entering new vendor information into your database. TINCheck offers TINCheck Bulk Processing for users that don’t need real-time results and have bulk files that require validation. TINCheck Bulk allows users to upload their bulk files through the TINCheck website and for results within 48 hours from your request. There a 2 ways you can give a user access to TINCheck integrated features. If the end user is part of a “built-in” access group, the admin can create. If the user is part of a custom access group, you can simply modify the user profile under the access group. Users belong to access group that are highlighted in green are using Built-in Groups. If using built-in groups, a new access group will have to be created to allow access to TINCheck.
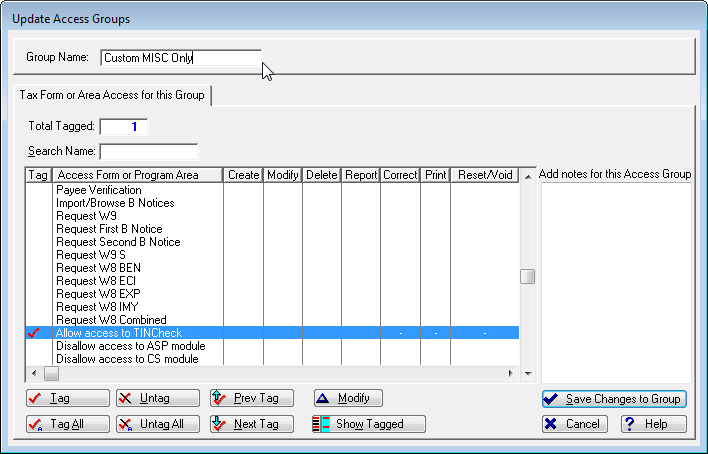
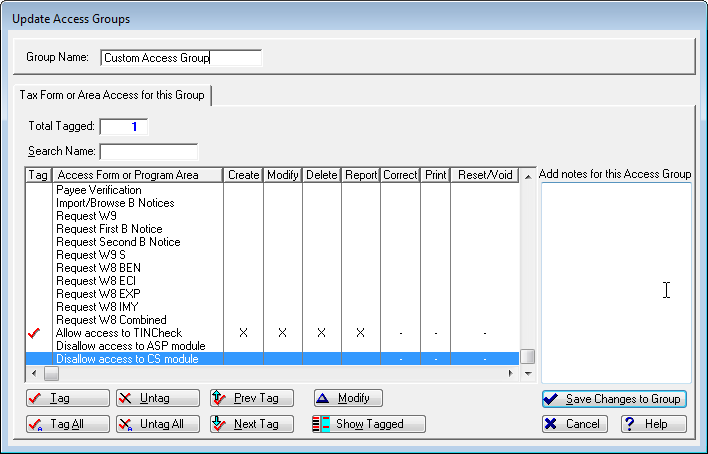
Users already using custom access groups and profiles will need to update the access group to allow TINCheck integration. Highlight the group and click the Change button. Tag the Program Area named “Allow access to TINCheck” and the click the Modify button.
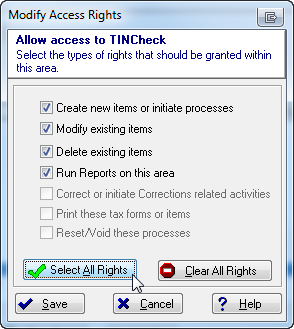
Click Select All Rights then Save.
For users using Built-In Groups, you will need to create an Access Group first and then update your User Profile(s). Click the Add button at the bottom.
Give your new access group a name and tag Allow access to TINCheck and click the Modify button.
Click Select All Rights then Save.
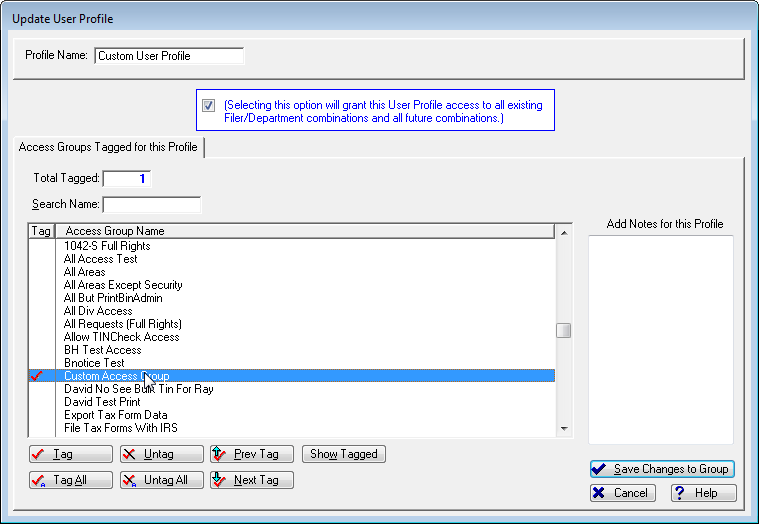
Click Save Changes to Group. Go to your User Profiles and update them to include the new access group we created for TINCheck access. Tag the access group and click Save Changes to Group.
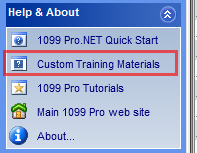
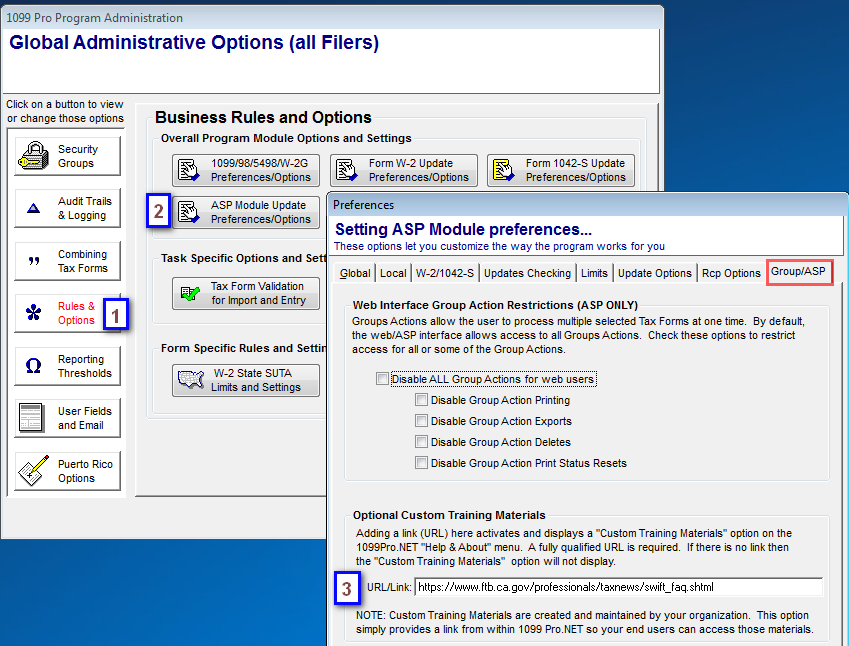
Custom Training Materials
Adding a link (URL) to 1099 Pro.NET activates the “Custom Training Materials” link shown below. Access the link from CS by clicking on “Security & Administration”, (1) “Rules & Options”, click on (2) “ASP Module Update Preferences/Options” and then on the “Group/ASP” tab. the URL/Link field (3) can be edited at any time to direct the Custom Training Materials link in the Help & About section.
|